
Mastering Night Mode: Tips & Tricks for Stunning Low-Light Photos
The ability to capture stunning photos in low-light conditions used to be a challenge for smartphone cameras. However, with the advent of Night Mode, the iPhone has revolutionized nighttime photography. No longer are we limited to grainy, blurry images; now, we can capture the magic of the night with incredible clarity and detail.
Night Mode is a sophisticated feature that goes beyond simply increasing the exposure time. Your iPhone intelligently analyzes the scene, identifying areas of darkness and adjusting accordingly. It seamlessly integrates multiple exposures, reducing noise and enhancing the overall image quality. This intelligent approach results in photos that are not only brighter but also retain a natural look, with vibrant colors and well-defined details.
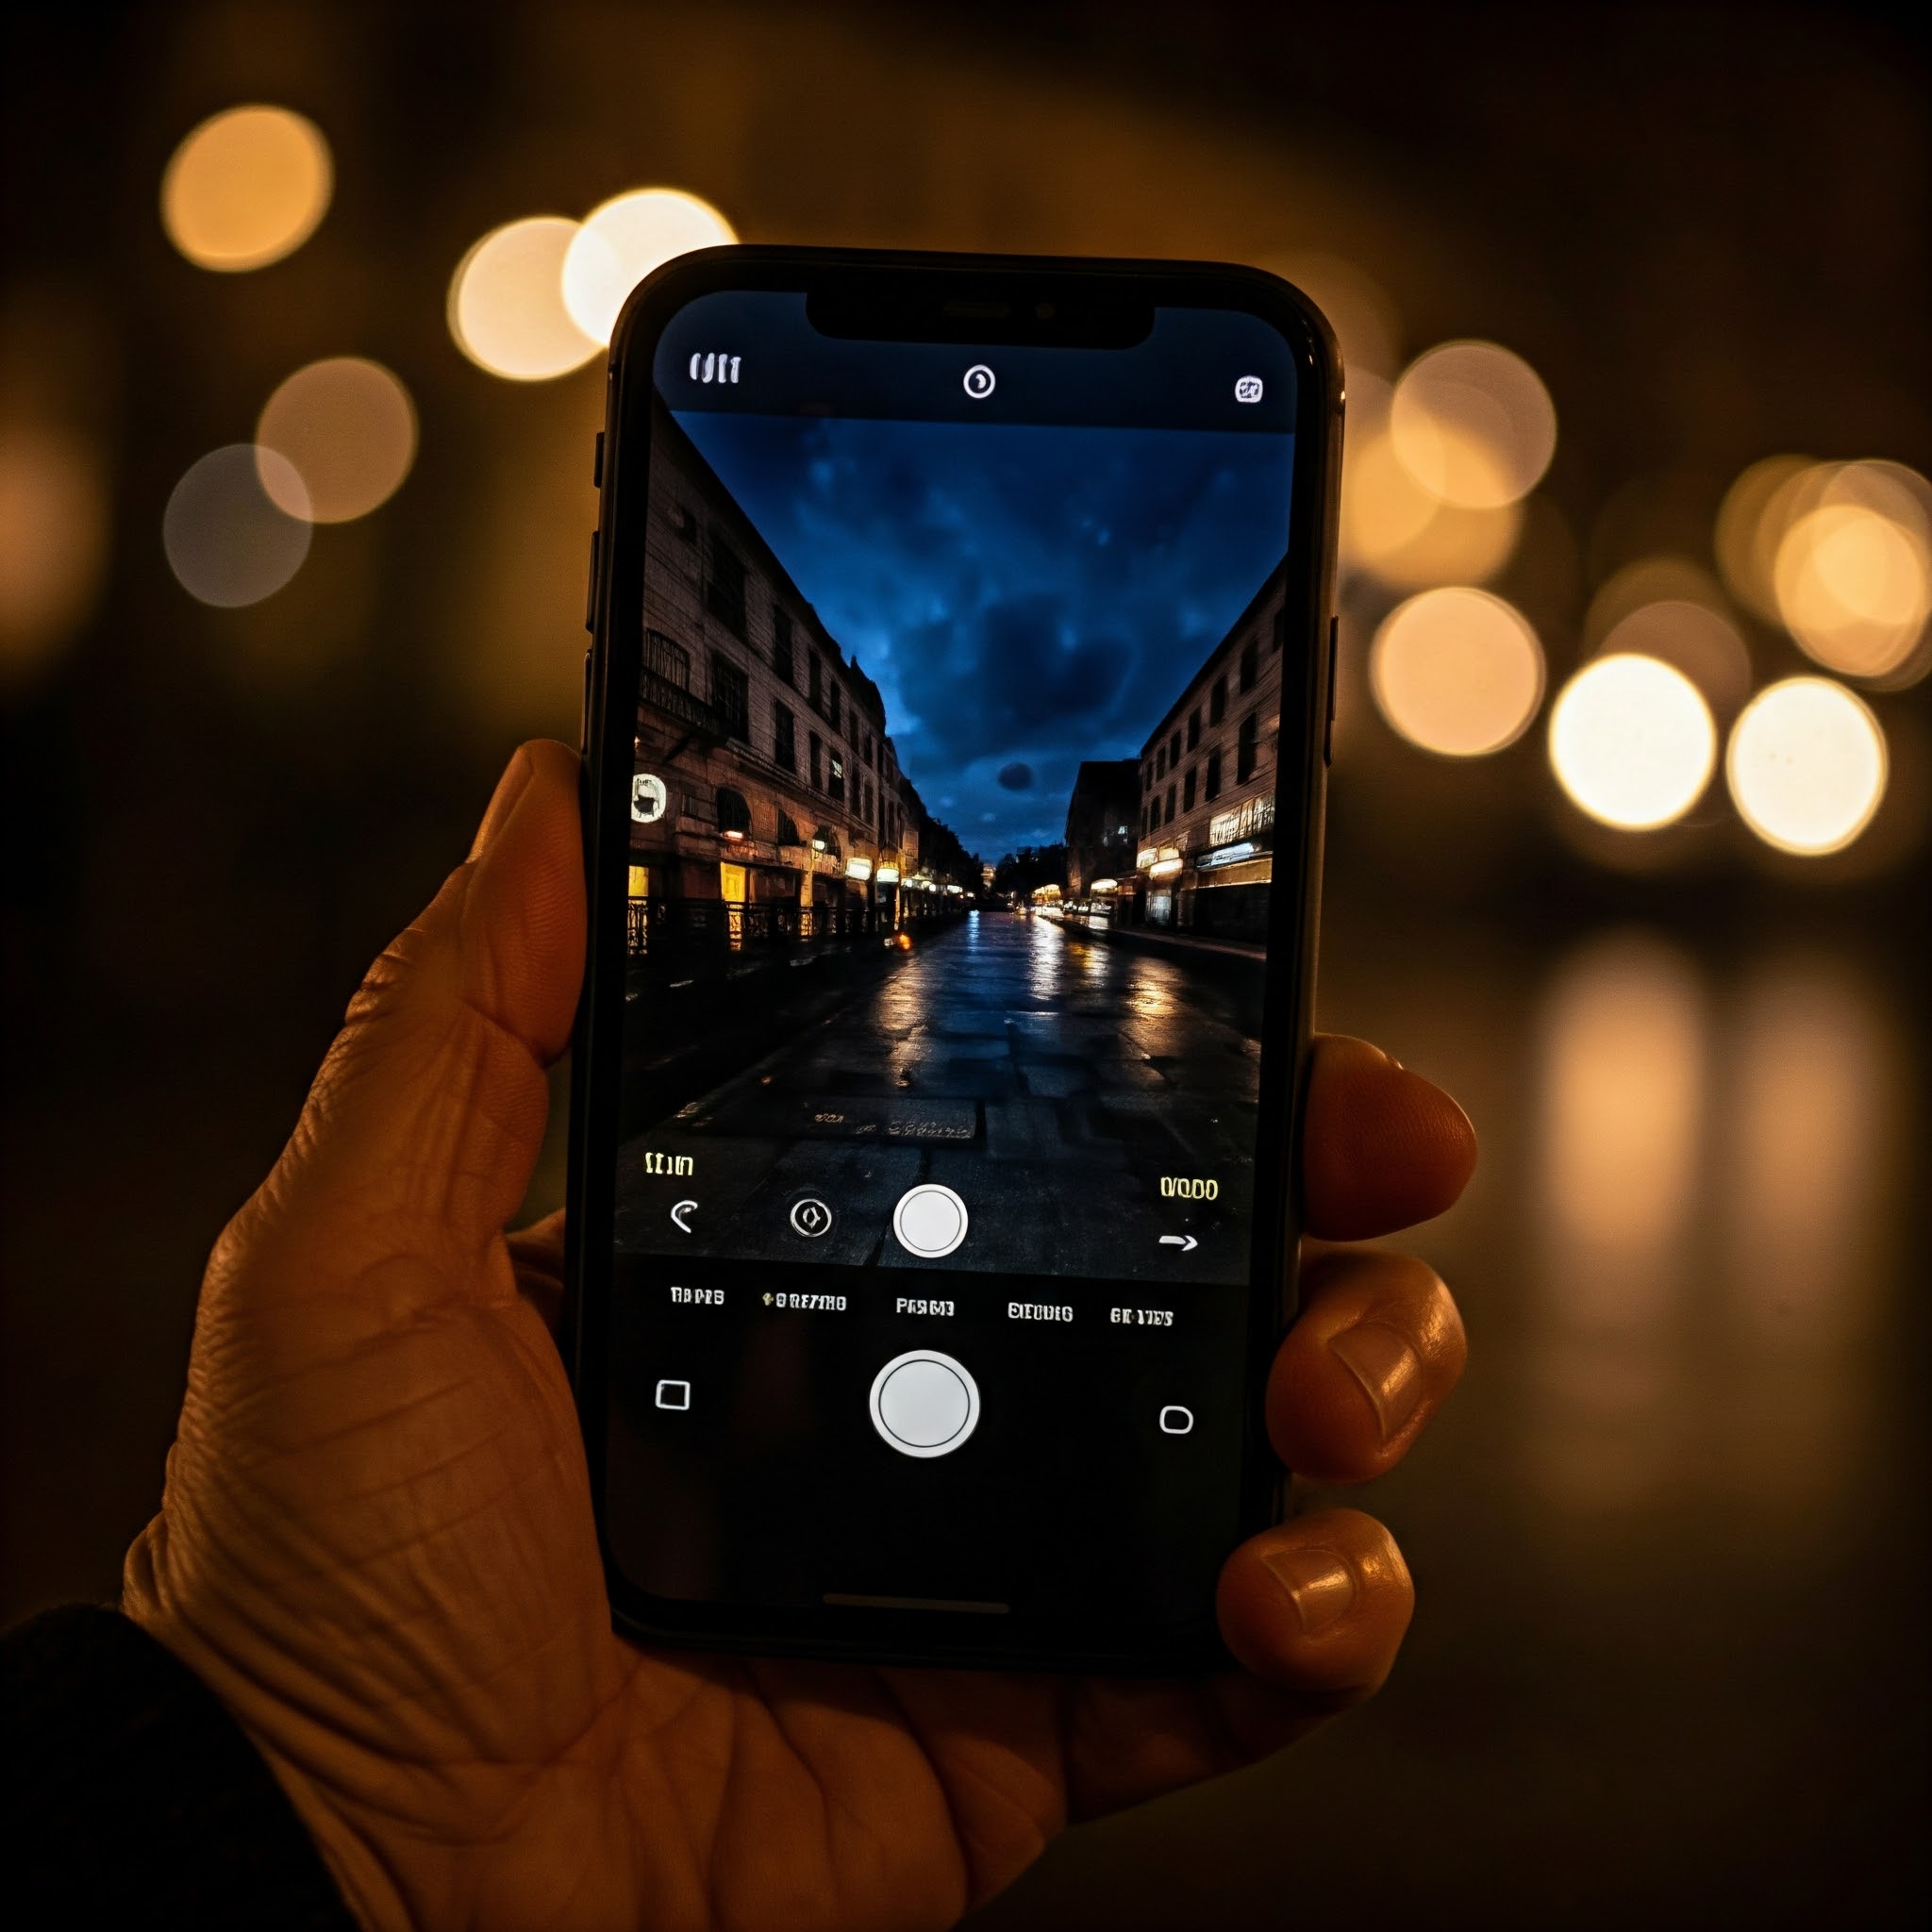
One of the most noticeable signs that Night Mode is engaged is the appearance of the moon icon on your camera screen. This visual cue lets you know that your iPhone is optimizing the camera settings for low-light conditions, ensuring you capture the best possible image.
Tips for Night Mode Success
To truly master Night Mode, it’s essential to understand a few key tips and tricks. First and foremost, stability is paramount. Since Night Mode uses longer exposures, even the slightest movement can blur your photo. To combat this, find a stable surface to rest your phone on, such as a wall, fence, or even your own hand braced against a solid object.
For an extra measure of stability, activate the timer. This gives you a few seconds to settle down and ensure your phone is perfectly still before the photo is taken, minimizing any camera shake caused by pressing the shutter button.
While the flash might seem like an obvious solution in low-light conditions, it can often create harsh and unnatural results in Night Mode. It’s generally best to leave the flash off and let Night Mode work its magic.
Night Mode offers some flexibility in terms of exposure. You can adjust the exposure level by tapping and holding the screen. This allows you to fine-tune the brightness and bring out details in shadows or highlights, giving you more control over the final image.
Live Photos add a dynamic element to your night shots. They capture a few seconds of video before and after the photo, allowing you to relive the moment or even create a short video clip. This can be particularly captivating with night scenes, capturing the subtle shifts in light and creating a more immersive experience.
Creative Night Mode Techniques
Beyond simply capturing well-lit images, Night Mode opens up a world of creative possibilities. Embrace the city lights! Night Mode transforms cityscapes into dazzling displays of light and color. Experiment with different angles and perspectives to capture the unique ambiance of urban nights.
If you’re lucky enough to be in a location with minimal light pollution, try capturing the stars with Night Mode. You might be surprised at the incredible detail you can capture, revealing a breathtaking celestial canvas.
Night Mode can also beautifully capture reflections in water, glass, and even shiny surfaces. Experiment with different angles to create unique and artistic compositions.
Remember, Night Mode isn’t just for grand landscapes. Use it to capture intricate details like illuminated signs, glowing street lamps, or the textures of nighttime objects. The level of detail captured by Night Mode can reveal hidden beauty in the most unexpected places.
Unleashing Your Inner Photographer: Unlocking Pro Camera Features
Your iPhone’s camera is more than just a convenient tool for capturing everyday moments; it’s a powerful pocket-sized studio capable of producing truly remarkable images. While the point-and-shoot simplicity is undeniably appealing, beneath the surface lies a treasure trove of professional-level features waiting to be discovered. By venturing beyond the basics and exploring these hidden gems, you can elevate your photography game, transforming ordinary snapshots into extraordinary works of art.
Discovering Hidden Gems: Pro Camera Modes
The iPhone camera app is a versatile tool that offers a variety of shooting modes designed to help you capture the perfect shot in any situation.
- Portrait Mode: This mode leverages advanced depth-sensing technology to create a beautiful bokeh effect, blurring the background and making your subject stand out with stunning clarity. Whether you’re capturing a captivating portrait of a loved one, a striking still life, or even a captivating product shot, Portrait Mode adds a professional touch, making your subject the undeniable star of the image.
- Night Mode: Capture the magic of the night with incredible clarity and detail. Night Mode intelligently analyzes the scene, adjusts exposure time, and reduces noise to produce bright and vibrant images even in the darkest conditions. This allows you to capture stunning cityscapes, starry nights, and intimate moments with friends and family, all with remarkable detail and minimal noise.
- Panorama: Capture sweeping landscapes and expansive vistas with ease. Panoramas allow you to capture the grandeur of the natural world, from breathtaking mountain ranges and rolling hills to panoramic cityscapes and stunning coastlines.
- Time-Lapse: Turn hours into seconds by capturing the passage of time in a mesmerizing time-lapse video. Capture the movement of clouds across the sky, the ebb and flow of traffic, or the blooming of a flower over time, transforming everyday occurrences into captivating cinematic experiences.
- Slo-mo: Slow down the action to capture every detail with incredible precision. Slo-mo mode is perfect for capturing sports highlights, playful animal antics, or the delicate beauty of a water droplet, allowing you to relive those fleeting moments in slow motion and appreciate the intricate details often missed at normal speed.
Mastering Manual Controls
For those seeking greater control over their photography, the iPhone camera app offers a suite of manual controls that allow for precise adjustments.
- Exposure: Adjust the brightness and darkness of your photos to achieve the desired look. Whether you want to brighten a shadowy scene or darken a brightly lit area, the exposure control gives you the power to fine-tune the lighting and ensure your photos are perfectly exposed.
- Focus: Tap on the screen to precisely focus on your subject, ensuring they are sharp and in focus. This allows you to ensure that the most important elements of your image are crisp and clear, while the background can be intentionally blurred for artistic effect.
- White Balance: Adjust the color temperature of your photos to accurately reflect the scene’s lighting. This is crucial for capturing accurate colors, especially in situations with mixed lighting conditions, such as indoors with warm lighting.
- Grid Overlay: Enable a grid overlay to help you compose your shots using the rule of thirds, a classic photography guideline. The grid helps you align your subject with key points within the frame, creating more balanced and visually appealing compositions.
Beyond the Basics: Advanced Techniques
For those looking to truly unlock their creative potential, the iPhone camera app offers several advanced techniques.
- Macro Photography: Discover the intricate details of the world around you with the Macro mode. This mode allows you to capture stunning close-up shots of flowers, insects, and other small subjects with incredible clarity and detail.
- Cinematic Mode: Add a cinematic touch to your videos with adjustable depth-of-field effects, similar to those used in professional filmmaking. This allows you to create videos with a shallow depth of field, making your subject stand out and adding a professional, cinematic look.
- ProRAW: Capture the highest quality images possible with ProRAW, a versatile file format that provides maximum flexibility for editing and post-processing. ProRAW captures a wealth of image data, allowing for greater control and flexibility during the editing process.
By exploring these features and experimenting with different settings, you can unlock your creative potential and capture stunning photos and videos that you’ll cherish for years to come.
Edit Photos Like a Pro: Unleash Your Inner Artist
Introduction
Taking great photos is only half the battle. Editing is where you truly transform your snapshots into stunning works of art. The good news is, you don’t need fancy software or years of experience to edit your photos like a pro. Your iPhone comes equipped with powerful editing tools that can take your images to the next level.
Mastering the Basics: Light and Color
The heart of photo editing lies in adjusting light and color.
- Brightness and Contrast: These sliders are your best friends. Adjust the brightness to make your photos lighter or darker, and the contrast to increase the difference between the lightest and darkest areas.
- Highlights and Shadows: Fine-tune the details in the brightest and darkest parts of your image.
- Saturation and Vibrance: Enhance the intensity of colors without making them look unnatural.
Beyond the Basics: Creative Effects
Once you’ve mastered the fundamentals, it’s time to get creative.
- Filters: Experiment with different filters to instantly change the mood and atmosphere of your photos.
- Curves: For more advanced editing, the Curves tool allows you to fine-tune the tonal range of your image.
- Selective Adjustments: Use tools like the brush or selection tools to make precise adjustments to specific areas of your photo.
Tips for Editing Success
- Start with Subtlety: Avoid over-editing your photos. Small adjustments often make the biggest difference.
- Edit Non-Destructively: Always edit a copy of your original photo to preserve the original image.
- Practice Makes Perfect: The more you edit, the better you’ll become. Experiment with different techniques and find your own unique style
Hidden Camera Gems: Unlocking iPhone Photography Secrets
Introduction
The iPhone camera is a powerhouse, but many users only scratch the surface of its capabilities. Hidden within the app are a treasure trove of features that can elevate your photography game. Let’s dive in and discover some of these hidden gems.
Beyond the Basics: Exploring Hidden Camera Features
- Quick Take: Need to capture a fleeting moment? Double-press the side button (or volume up button on older models) to instantly launch the camera and snap a photo. It’s incredibly fast and perfect for those unexpected opportunities. Imagine capturing a mischievous puppy’s playful antics or a fleeting smile without missing a beat.
- Focus Peaking: For those seeking precise focus, enable Focus Peaking in the Camera settings. This feature highlights the areas of your image that are in sharp focus with a colored outline, making it easier to achieve the desired sharpness. This is particularly helpful for macro photography or when you need to ensure every detail of your subject is crystal clear.
- Photographic Styles: Go beyond simple filters with Photographic Styles. These subtle adjustments to color and tone can give your photos a unique and artistic look, like a vibrant “Vibrant” style or a classic “Rich Contrast” look. Experiment with different styles to find the one that best suits your personal aesthetic and the mood you want to convey in your photos.
- Level: Ensure your horizons are perfectly straight with the built-in level. This subtle guide appears on the screen, helping you compose balanced and professional-looking photos. Say goodbye to tilted horizons and hello to perfectly aligned landscapes and cityscapes.
Hidden Features for Video Recording
- QuickTake Video: Just like with photos, you can quickly start recording video by pressing and holding the shutter button. Release to stop recording. This makes it effortless to capture impromptu moments, from a child’s first steps to a spontaneous dance party.
- Audio Zoom: When zooming in on your subject, Audio Zoom automatically adjusts the audio to focus on the center of the frame, creating more immersive and engaging videos. This feature enhances the audio experience, making your videos feel more dynamic and professional.
- ** Cinematic Mode:** Add a cinematic touch to your videos with adjustable depth-of-field effects. You can even change the focus point after recording, giving you greater creative control. This allows you to mimic the shallow depth of field often seen in professional films, making your videos look more artistic and cinematic.